Modeling 2D Water with Springs: Part 1
Water is one of those things in the world of game development that can range anywhere from incredibly simple to insanely complex. Your first attempt at making water might not be anything more than a transparent quad. Compare a solution like that with something like the water as seen in Assassin’s Creed IV: Black Flag or Bioshock to get an idea of how far it can be taken.
Even with something like 2D water there are tons of different ways to model it. For the project this water was made for (which is for mobile and desktop) I chose to model the water with springs. This provides a fun looking water that is easy to configure at runtime keeping it performant on mobile and pretty on desktop. Before we get into any details lets have a look at what the water looks like for low end mobile devices.
The plan is to utilize our good friend from back in grade school: Hooke’s Law. If we layout a series of springs all in a vertical direction we can use them to simulate the oscillating water surface that you see above.  We will of course need a mesh to go along with our invisible springs so we will use the spring’s position as our top vert. What we end up with is a line of verts each with a spring to simulate the water surface. With that in place, making the mesh is simple: we just stick a vert below each spring (off the bottom of the image on the left) and we break up each square into two triangles. To provide a visual when working in the editor a BoxCollider2D is used. This also has the added benefit of giving us its Bounds property so we know exactly where the top, bottom, left and right verts will be. We will need it at runtime to detect stuff falling into the water as well.
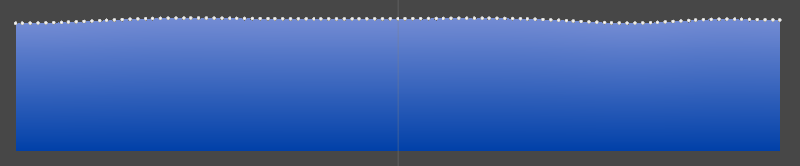
I mentioned previously that this method of making water can easily scale from mobile to desktop. This is done by making the number of springs that are used configurable. A lower number isn’t as pretty but it is a lot cheaper and faster. At runtime the Mesh created in Awake and the number of springs is set based on the current device. Here are some screenshots from the editor with a gizmo drawn at each spring position:
20 Springs, 40 Springs and 100 Springs


The WaterColumn struct below is used to keep things organized. It handles calculating a simplified Hooke’s Law in its update method and it also stores the index into the Mesh.vertices array where it is located. After running the simulation, the vertexIndex lets us get right to the vert that we need to update.
1 2 3 4 5 6 7 8 9 10 11 12 13 14 15 | |
In the next post we will go over the rest of the simulation details and we will get the water actually moving and interactive.