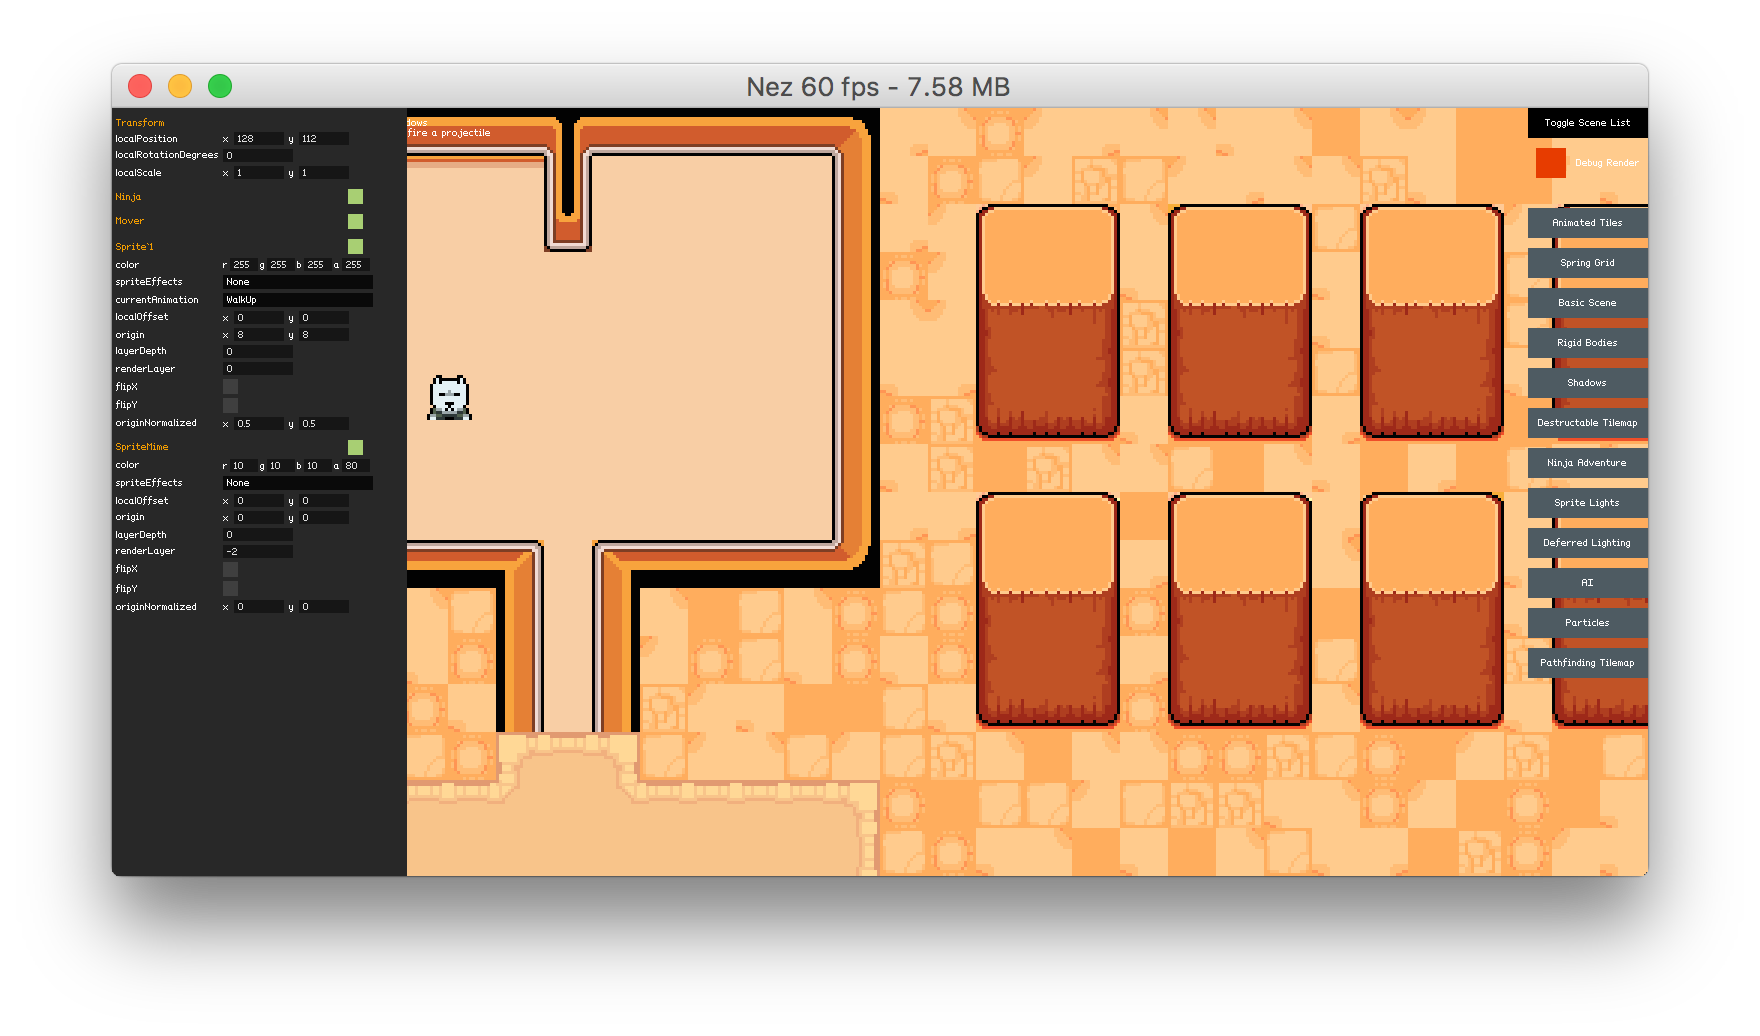
Runtime Inspector
Nez includes some really handy runtime Entity and PostProcessor inspection facilities. You can access the inspector by opening the debug console (via the tilde key) and then using the inspect command. Out of the box the inspector can inspect the following types: int, float, string, bool, enum, Color, some structs, Effect subclasses and Transform. When you use the inspect command you can either pass in an Entity name or pp, the latter will inspect all the PostProcessors in the Scene.
Exposing Properties and Fields in the Inspector#
By default, the inspector will display any public properties/fields that are of a supported type. It will also check Materials for non-null Effects and it will display any valid properties from the Effect. The inspector can also display private fields/properties by just adding the Inspectable attribute:
Int and float fields/properties can optionally be displayed with a slider by adding the Range attribute. Note that you do not have to add both the Inspectable and Range attributes for private fields/properties. Just the Range attribute is enough to let the inspector know you want it displayed.
Exposing Methods in the Inspector#
The inspector also has the ability to expose a button to call methods. Methods must have 0 to 1 parameters and if they have a parameter it must be of type int, float, bool or string. To expose a method in the inspector add the InspectorCallable attribute to the method. An example is below:
Tooltips#
You can add tooltips to the inspector via the TooltipAttribute. Tooltips will appear when you hover over the label for an inspected field.
Extending the Inspector#
You can display any custom types in the inspector as well by writing your own custom inspectors. You can do this by adding the CustomInspector attribute on the class that you want to make a custom inspector for (YourClass in the example below). The attribute takes in a single parameter which is the Type of the Inspector subclass that manages the UI for the class (YourClassInspector in the example). Note that the Inspector subclass is wrapped in #if/#endif so that it is only compiled into debug builds.
The Inspector class provides several helpers to assist with making custom inspectors. It will cache access to the getter/setter for the field/property for easy access. It wraps access to the getter/setter via the GetValue and SetValue methods which are generic and take care of casting for you. If you want to add your own custom attributes on the field/property they are accessible via the GetFieldOrPropertyAttribute generic method.